> ## Documentation Index
> Fetch the complete documentation index at: https://docs.minimus.io/llms.txt
> Use this file to discover all available pages before exploring further.
# Security Technical Implementation Guides (STIG)
> About STIG guidelines for enhanced security and how to verify them in Minimus images using the Minimus OpenSCAP image
Minimus offers hardened images following STIG guidelines for enhanced security. STIGs are Security Technical Implementation Guides published by the Defense Information Systems Agency (DISA).
You can filter for STIG compliant containers in the Minimus gallery.
## Verify Security Content Automation Protocol (SCAP)
[OpenSCAP tools](https://www.open-scap.org/tools/) are the recommended toolset for validating the configuration of container images and reviewing the configuration of an image file system. For ease of use, Minimus provides a hardened [OpenSCAP image](https://images.minimus.io/images/openscap/quick-start) that always includes the most up-to-date package version for all of the included packages and dependencies.
Use the Minimus OpenSCAP image to scan your Docker images and containers without the need to install OpenSCAP locally. This image comes preloaded with a Minimus STIG file for security and compliance assessments.
## How to verify STIG compliance for Minimus images
To test the Minimus OpenSCAP image, follow the steps below to scan an image using its file system.
Docker runtime is required as a pre-requisite for running the Minimus OpenSCAP docker image.
Pull the OpenSCAP latest image from the Minimus registry:
```bash theme={null}
docker pull reg.mini.dev/openscap:latest
```
The data stream module (ds) is provided by Minimus and used to automatically validate the image or container. Download the file [ssg-minimus-gpos-ds.xml](https://raw.githubusercontent.com/minimusio/examples/main/STIG/ssg-minimus-gpos-ds.xml) from the Minimus public GitHub repo.
To pull the file locally:
```bash curl example theme={null}
curl -O https://raw.githubusercontent.com/minimusio/examples/main/STIG/ssg-minimus-gpos-ds.xml
```
```bash wget example theme={null}
wget -O ssg-minimus-gpos-ds.xml https://raw.githubusercontent.com/minimusio/examples/main/STIG/ssg-minimus-gpos-ds.xml
```
For good measure, verify the file:
```bash theme={null}
docker run --user root \
-v /var/run/docker.sock:/var/run/docker.sock \
-v "$PWD/ssg-minimus-gpos-ds.xml:/ssg-minimus-gpos-ds.xml:ro" \
--entrypoint "" \
reg.mini.dev/openscap \
/usr/bin/oscap info ssg-minimus-gpos-ds.xml
```
You should see a printout of file details, beginning with `Document type: Source Data Stream` and version information.
```bash theme={null}
mkdir -p "$PWD/openscap_results"
```
Change the directory ownership to match the container's UID to grant the OpenSCAP container write access:
```bash theme={null}
sudo chown 1000:1000 "$PWD/openscap_results"
```
Pull the image you plan to scan from the Minimus registry, for example:
```bash theme={null}
docker pull reg.mini.dev/nginx-fips:latest
```
Use the oscap-docker tool to perform offline scanning from the Minimus provided image:
```bash Specific example theme={null}
docker run --user root \
-v "$PWD/ssg-minimus-gpos-ds.xml:/ssg-minimus-gpos-ds.xml:ro" \
-v /var/run/docker.sock:/var/run/docker.sock \
-v "$PWD/openscap_results:/output" \
--entrypoint "" \
reg.mini.dev/openscap \
/usr/bin/oscap-docker image reg.mini.dev/nginx-fips:latest -- \
xccdf eval \
--profile "xccdf_basic_profile_.check" \
--results /output/scan-results.xml \
--report /output/report.html \
/ssg-minimus-gpos-ds.xml
```
```bash General command theme={null}
docker run --user root \
-v "$PWD/ssg-minimus-gpos-ds.xml:/ssg-minimus-gpos-ds.xml:ro" \
-v /var/run/docker.sock:/var/run/docker.sock \
-v "$PWD/openscap_results:/output" \
--entrypoint "" \
reg.mini.dev/openscap \
/usr/bin/oscap-docker image {IMAGE_TO_SCAN} -- \
xccdf eval \
--profile "xccdf_basic_profile_.check" \
--results {path to scan results in XML} \
--report {path to scan results in HTML} \
{path to data stream file}
```
* `--results` indicates where to place the XML formatted report
* `--report` indicates where to place the HTML report
* The data stream location points to the location of the SCAP source data stream file
The test outputs two files: An XML report and an HTML page. You can use either to review your results.
### XCCDF Format
The eXtensible Configuration Checklist Description Format is part of the SCAP standard. OpenSCAP tooling uses XCCDF to automate compliance and configuration remediation.
XCCDF STIG reports can be viewed in dedicated viewing tools endorsed by the DoD. Currently, STIG Viewer 3 is the most up to date. The relevant style sheet is bundled with the STIG. ([Link to download the STIG Viewer](https://public.cyber.mil/stigs/srg-stig-tools/).)
## Convert DISA STIG XML to other formats
You can convert DISA STIG XML reports into other formats, as required, using a popular open-source tool from MITRE. This tutorial showcases examples using the [heimdall-lite](https://saf.mitre.org/docs) utility made available by the MITRE [**Security Automation Framework (SAF)**](https://saf.mitre.org/). This guide explains how to run the utility as a container in order to convert a DISA STIG XML report provided by Minimus into other common formats, including JSON, CSV, HTML, DISA Checklist, etc.
MITRE Heimdall ([https://github.com/mitre/heimdall2](https://github.com/mitre/heimdall2)) is a suite of tools that provide a centralized visualization and reporting solution for automated security scan results.
### Pre-requisites
1. Scan results obtained in XML format by running the Minimus OpenSCAP image. See the [quick start guide](https://images.minimus.io/images/openscap/quick-start)
2. Container runtime environment (such as Podman or Docker)
3. Ability to pull in the heimdall-lite docker image to its execution location
4. The heimdall-lite docker image currently ships for amd64 images only. If needed, you can use emulation as a workaround for other architectures such as macOS Darwin.
### Run Heimdall Lite locally on macOS
Since Heimdall Lite only ships in amd64 formats, the container image will either need to run on an x86 architecture or be passed through an emulator.
This can be achieved on macOS Darwin by installing an emulator to pass through this image with an option such as `qemu`. `qemu` may be installed locally with Homebrew:
```shellscript theme={null}
brew install qemu
```
```shellscript wrap theme={null}
docker pull docker.io/mitre/heimdall-lite:release-latest --platform linux/amd64
```
Note - this pull will fail locally on Darwin if the platform flag is not included.
```shellscript wrap theme={null}
docker run --platform=linux/amd64 -d -p 8080:80 mitre/heimdall-lite:release-latest
```
Open your local web browser to point at `localhost:8080` (This example assumes you bound port 8080 but you should use the port you bound in the run command).
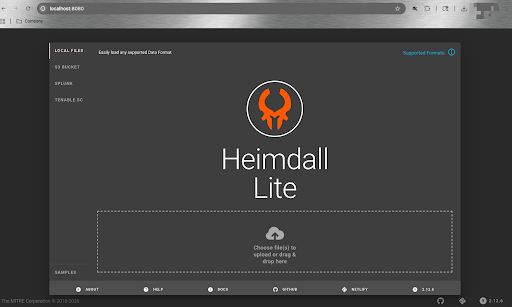 Select **Choose files to upload** and select your XML file (that is the report generated using OpenSCAP).
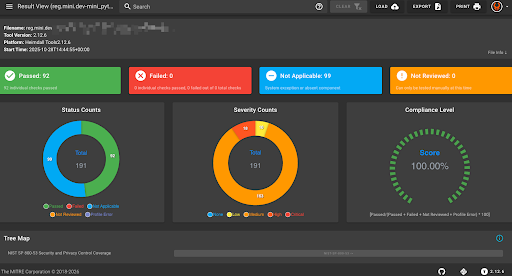 You will see the same matching checks previously noted from running OpenSCAP.
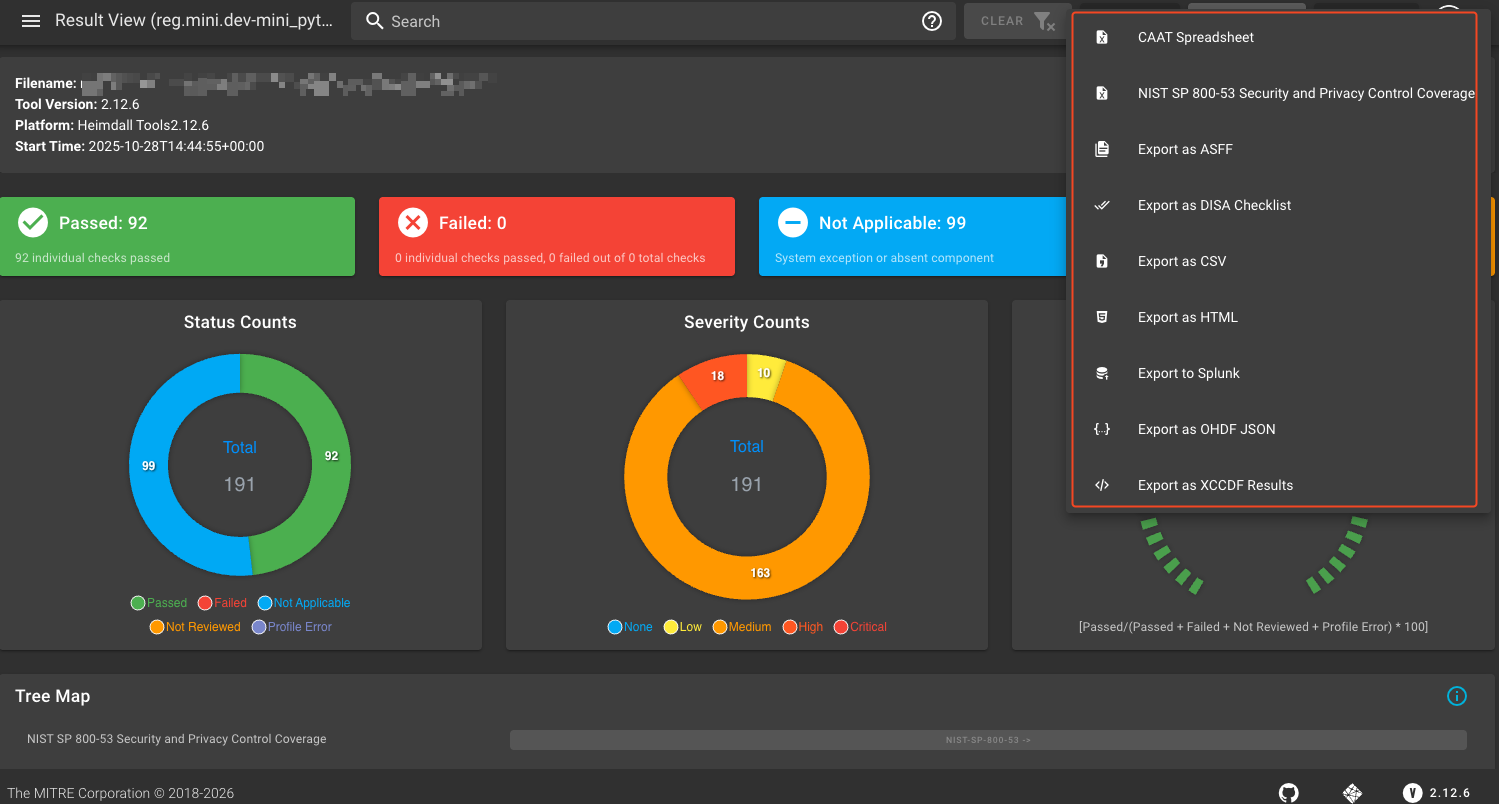
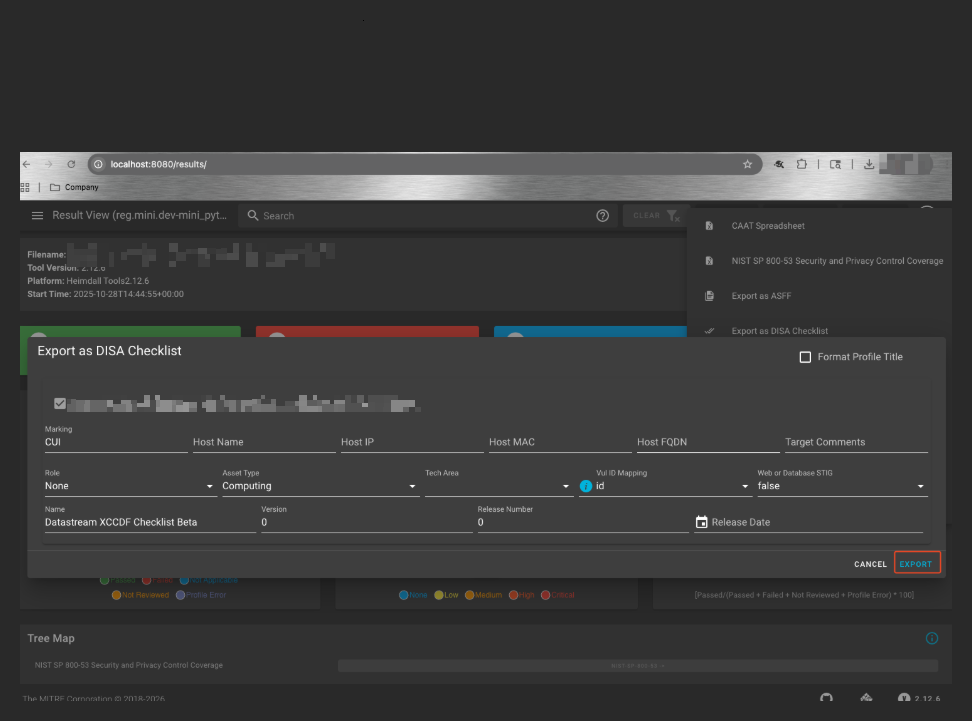
You will now be able to export the report into various formats as desired by selecting the **Export** button at the top right.
You will see the same matching checks previously noted from running OpenSCAP.
You will now be able to export the report into various formats as desired by selecting the **Export** button at the top right.
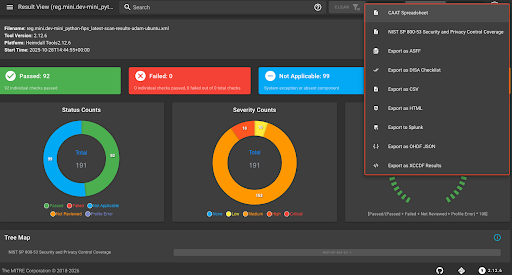 You can use the above process to export the report as a DISA checklist and download it locally. To do so, select the option **Export as a DISA Checklist**. You can download the resulting file when prompted.
 ### Run Heimdall Lite on a Cloud VM
This example showcases running Heimdall Lite on a GCP VM but the concept is the same for other cloud providers.
Create a VM with Docker or Podman installed to execute the runtime of a container image that is x86-64 or amd64 based.
```shellscript theme={null}
docker pull docker.io/mitre/heimdall-lite:release-latest
```
```shellscript theme={null}
docker run -d -p 8080:80 mitre/heimdall-lite:release-latest
```
To run the browser locally, you must now create an SSH tunnel to the instance and map it to the respective port the container is listening on. This can be done by using the Google Cloud CLI (`gcloud` CLI) and then authenticating to your respective project where the VM is running.
1. Authenticate to your GCP project via CLI:
```shellscript theme={null}
gcloud auth login
```
### Run Heimdall Lite on a Cloud VM
This example showcases running Heimdall Lite on a GCP VM but the concept is the same for other cloud providers.
Create a VM with Docker or Podman installed to execute the runtime of a container image that is x86-64 or amd64 based.
```shellscript theme={null}
docker pull docker.io/mitre/heimdall-lite:release-latest
```
```shellscript theme={null}
docker run -d -p 8080:80 mitre/heimdall-lite:release-latest
```
To run the browser locally, you must now create an SSH tunnel to the instance and map it to the respective port the container is listening on. This can be done by using the Google Cloud CLI (`gcloud` CLI) and then authenticating to your respective project where the VM is running.
1. Authenticate to your GCP project via CLI:
```shellscript theme={null}
gcloud auth login
```
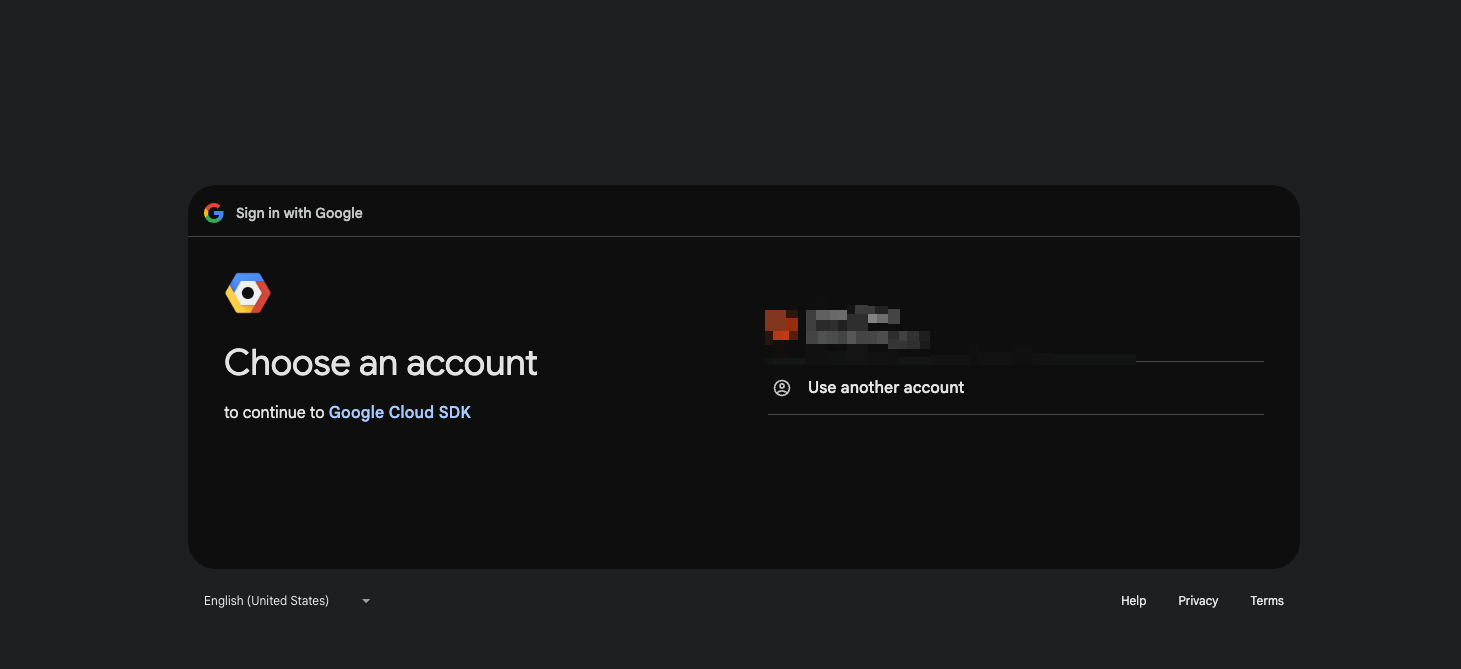
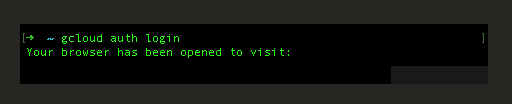 2. Authenticate via web browser:
You may need to allow permissions from GCP. If successful, you will see the same success message in your local terminal: `Your browser has been opened to visit`.
2. Authenticate via web browser:
You may need to allow permissions from GCP. If successful, you will see the same success message in your local terminal: `Your browser has been opened to visit`.
 3. Create your SSH tunnel using gcloud:
```shellscript wrap theme={null}
gcloud compute ssh [VM_NAME] --project=[PROJECT_ID] --zone=[ZONE] -- -N -L [LOCAL_PORT]:localhost:[REMOTE_PORT]
```
You will need to update the command with the following:
* LOCAL\_PORT - Use the port you enter in your local browser on your machine
* REMOTE\_PORT - Use the port the Heimdall Lite container is bound to listen on in the cloud VM.
4. If run for the first time, you may be prompted to generate SSH keys locally. When successful, you will have an active process with this open tunnel and the cursor will be active.
3. Create your SSH tunnel using gcloud:
```shellscript wrap theme={null}
gcloud compute ssh [VM_NAME] --project=[PROJECT_ID] --zone=[ZONE] -- -N -L [LOCAL_PORT]:localhost:[REMOTE_PORT]
```
You will need to update the command with the following:
* LOCAL\_PORT - Use the port you enter in your local browser on your machine
* REMOTE\_PORT - Use the port the Heimdall Lite container is bound to listen on in the cloud VM.
4. If run for the first time, you may be prompted to generate SSH keys locally. When successful, you will have an active process with this open tunnel and the cursor will be active.
 Access the Heimdall Lite container from your local browser by typing in `localhost:LOCAL_PORT`, for example, `localhost:9080`.
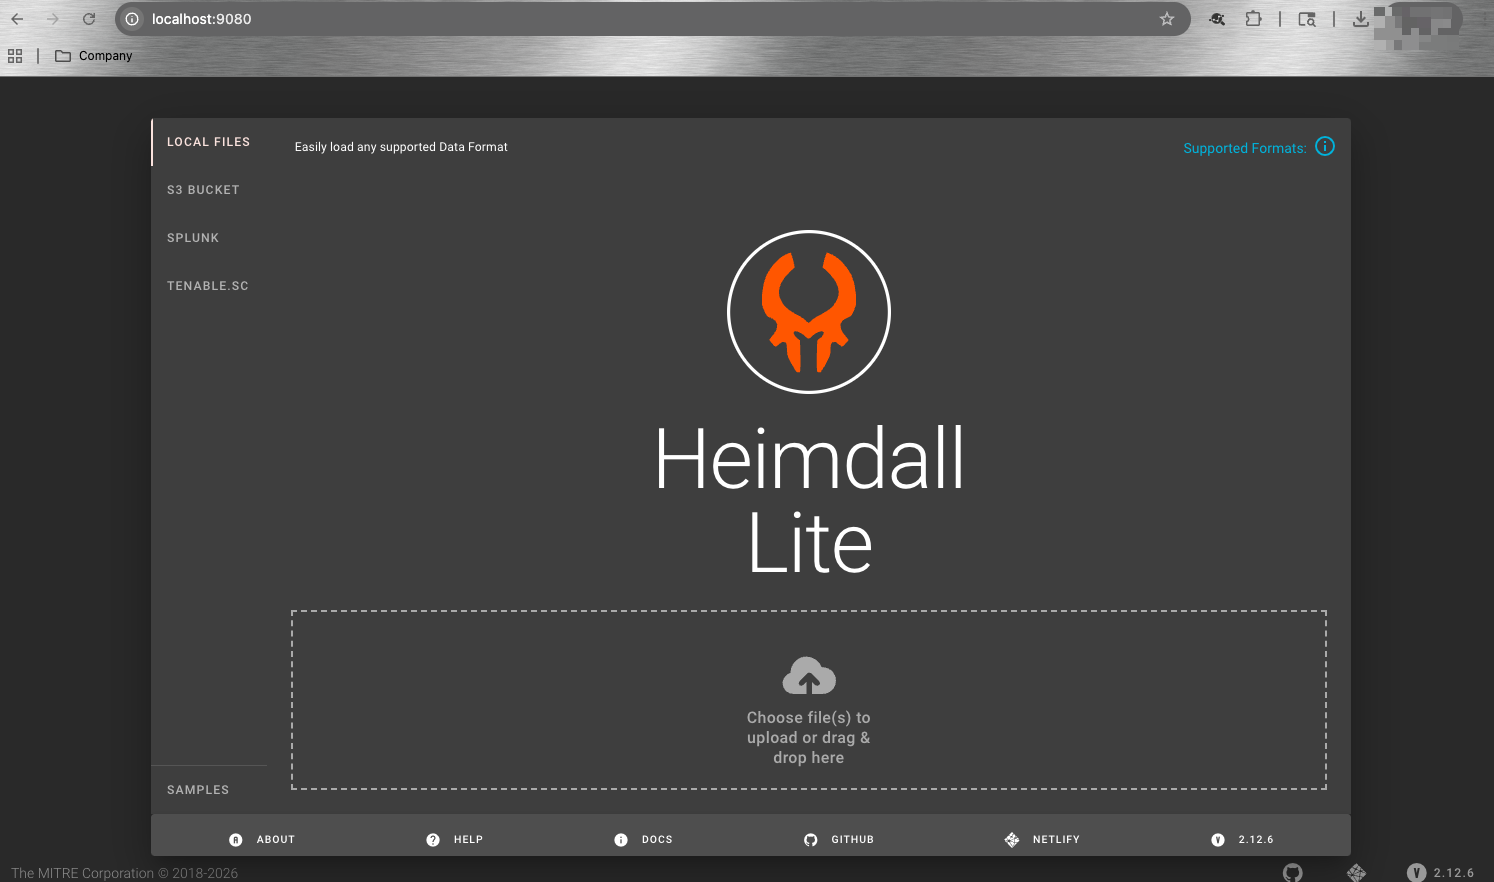
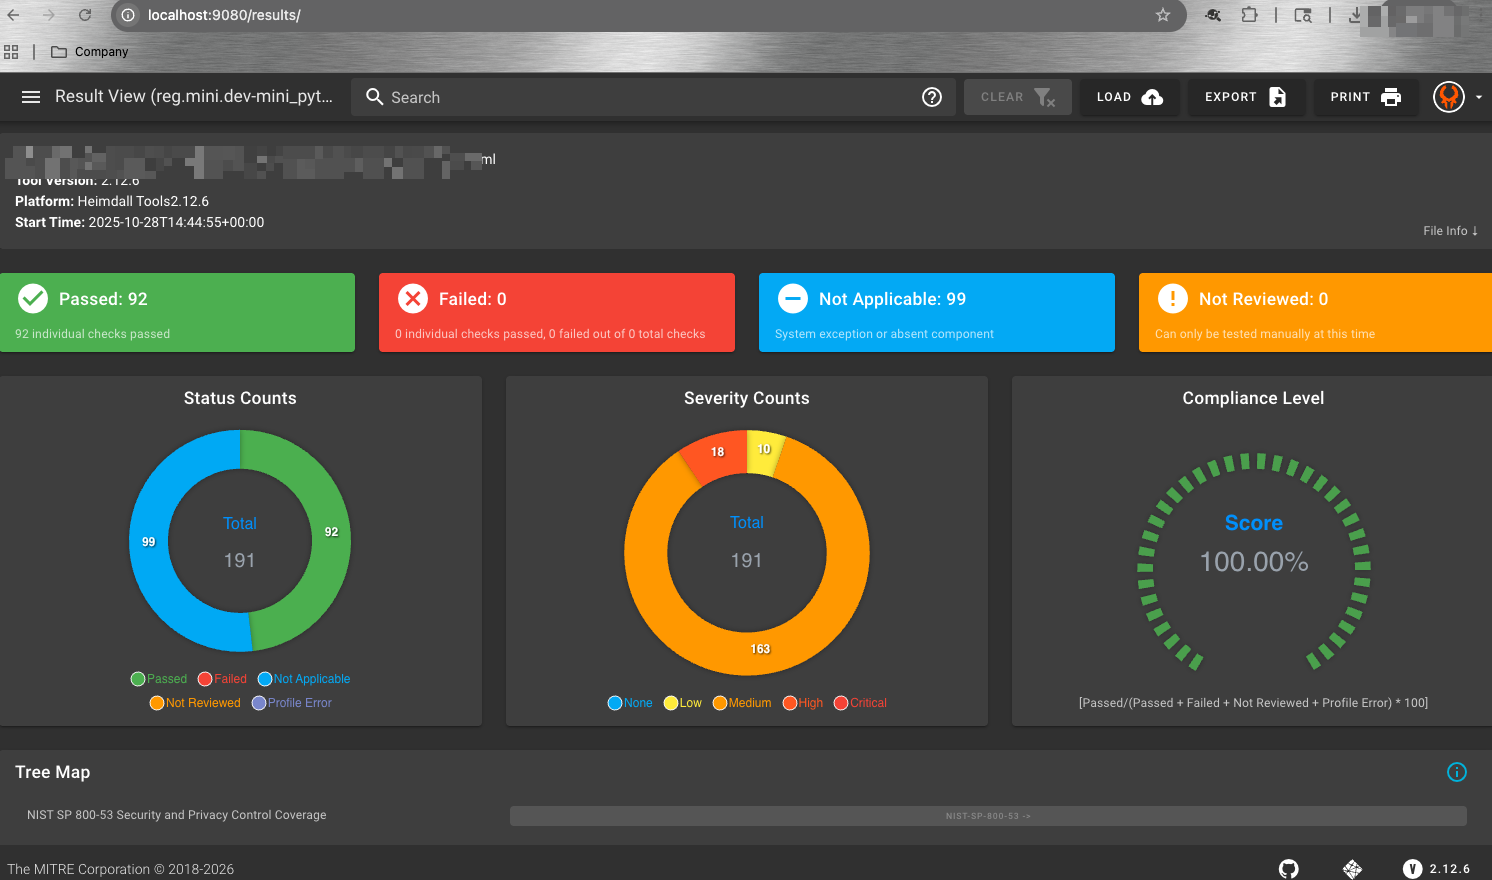 Use the **Export** button on the top right to export your report to your format of choice.